
Ah, the mystique of the pipe nipple – a humble yet crucial player in the symphony of plumbing. Whether you're a seasoned DIY aficionado or just dipping your toes into the waters of plumbing, the skill of installing a pipe nipple is a treasure to behold. In this guide, we will not merely walk you through the process; we will elevate it to an art form. Prepare to unravel the intricacies, demystify the procedure, and emerge as a plumbing maestro, ready to tackle any challenge that comes your way.
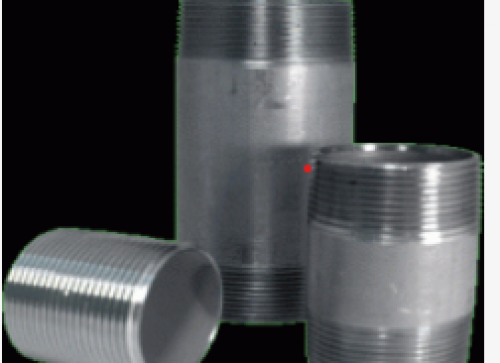
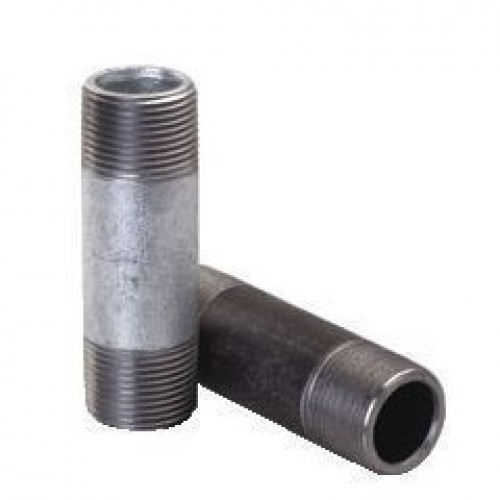
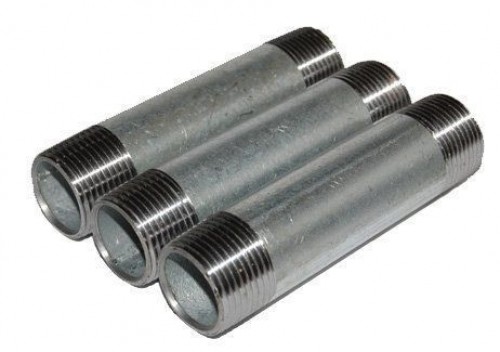
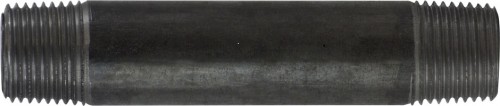
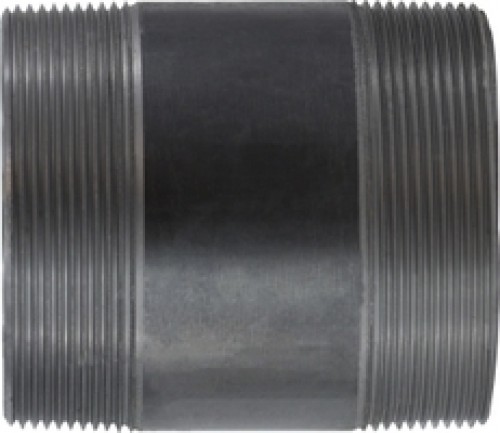
Before we delve into the nuts and bolts of installation, let's harmonize our understanding. Picture the pipe nipple as the unsung hero, seamlessly connecting different elements of your plumbing puzzle.
Just as a knight readies his armor before a quest, a plumbing enthusiast must have the right tools in their arsenal. Here's a quick overview:
1. Pipe Wrench: Your trusty sidekick in the plumbing realm, akin to Excalibur in King Arthur's hand – it turns and holds pipes with grace.
2. Thread Seal Tape: This is your elixir of prevention, a magician's cape against leaks. Wrap it around the threads for an airtight seal.
3. Pipe Cutter: Your precision scalpel in the surgical world of plumbing. Be the surgeon of your pipes.
Remember the age-old adage – "measure twice, cut once." In this realm of precision, accuracy reigns supreme. A shorter pipe can extend, but a long one can't shrink.
With your measurements in hand, it's time to create your masterpiece. The pipe cutter is your conductor's baton – wield it with care, for you are crafting the symphony of plumbing.
Now, imagine yourself as a wizard, wielding your pipe wrench like a wand. Twist the pipe nipple into the fittings, conjuring a snug connection – a magical moment that promises a leak-free future.
Picture your pipes wrapped in a cozy, protective blanket as you apply the thread seal tape. It's not just a seal; it's an artistic touch ensuring a water-tight embrace.
With the grace of a dancer, tighten the connections using your pipe wrench. Think Goldilocks – not too tight, not too loose, but just right, creating a harmonious union.
A1: While reusing pipe nipples is possible, it's like replaying an old tune – complications may arise. For optimal results, opt for new ones for a secure, leak-free connection.
A2: Be firm but not Hulk-like. Channel the strength of your wrist, not a sledgehammer. Over-tightening can lead to a disharmony of threads and unwanted leaks.
A3: Absolutely, but harmonize with safety first. Ensure they are approved for gas applications, for the future implications of negligence can be dire.
As you step away from this guide, armed with your pipe wrench and newfound knowledge, remember, you are now a plumbing virtuoso. Patience is your trusty ally, precision your virtuoso instrument, and the pipe nipple, your accomplice in crafting a leak-free opus. Plumbing challenges will now bow before your expertise. You have not just mastered a skill; you've become the maestro of the pipe nipple symphony. Here's to a future of plumbing excellence – may your endeavors flow smoothly and without a single discordant note. Happy plumbing!